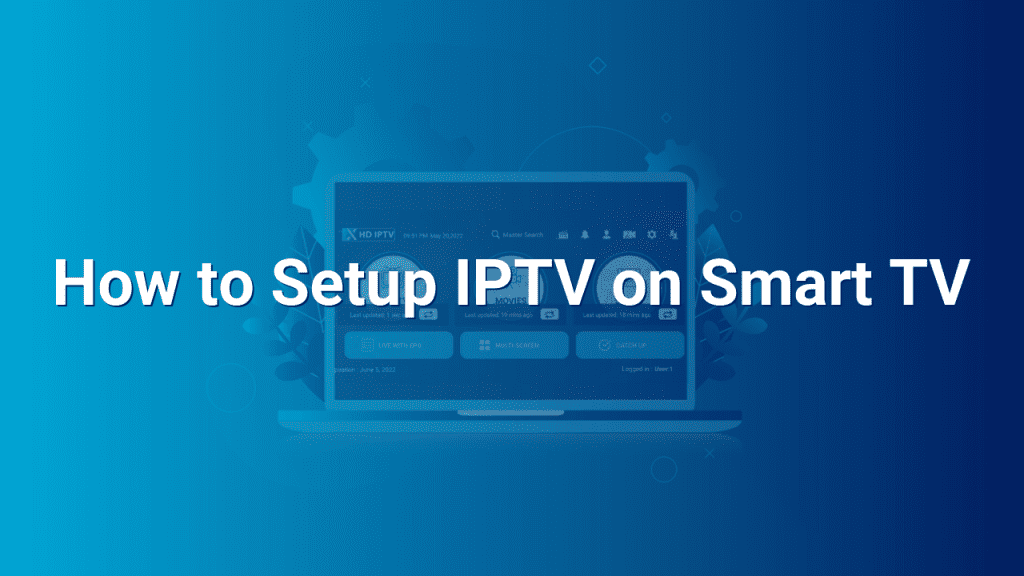
How to Setup IPTV on Smart TV
Welcome to our comprehensive guide on setting up IPTV on your Smart TV! Are you ready to stream your favorite TV shows, movies, and live channels directly on your sleek Smart TV screen? With the right instructions, you’ll be enjoying an impressive selection of entertainment within minutes. Whether you own a Samsung, LG, Sony, or any other Smart TV brand, this step-by-step tutorial will provide you with everything you need to know to get your IPTV service up and running smoothly.
Step 1: Check Compatibility
Before diving into the IPTV setup process, it’s crucial to verify if your Smart TV is compatible with IPTV applications. Most modern Smart TVs support IPTV, but it’s still a good idea to ensure your TV meets the requirements. To do so, consult your TV’s user manual or visit the manufacturer’s website. Look for specifications related to IPTV support, such as app compatibility or network connectivity options.
Step 2: Install IPTV Application
Once you’ve confirmed compatibility, the next step is to install the IPTV application on your Smart TV. The process may vary depending on your TV’s operating system, but here’s a general outline:
- Access your TV’s app store or application marketplace. This is typically a distinct icon on your TV’s home screen.
- Search for the IPTV application by typing “IPTV” in the search bar.
- Choose a reputable and trusted IPTV application from the search results.
- Click on the application to access its details page.
- Select “Install” or “Get” to initiate the installation process.
- Wait for the installation to complete, and then return to your TV’s home screen.
Step 3: Configure the IPTV Application
After successfully installing the IPTV application, it’s time to configure it. Here’s a general overview of the setup process:
- Launch the IPTV application by selecting its icon from your TV’s home screen.
- You’ll usually be prompted to accept the application’s terms of service. Read them carefully and click “Agree” if you agree with the terms.
- If required, you may need to sign in with your IPTV service provider’s credentials. Enter the provided username and password provided by your provider.
- Browse through the application’s settings to customize your IPTV experience. You may adjust preferences like channel layout, EPG (Electronic Program Guide) settings, and parental controls.
- Ensure your Smart TV is connected to the internet to ensure seamless streaming.
Step 4: Add IPTV Playlist
To enjoy IPTV channels, you’ll need to add an IPTV playlist to your Smart TV’s IPTV application. Here’s how to do it:
- Obtain an IPTV playlist from your provider. This is typically a file or URL containing a list of channels.
- Access the settings menu within your IPTV application and locate the “Playlist” or “Add Playlist” option.
- Choose the appropriate method for adding the playlist, whether it’s by file or URL.
- If adding the playlist by file, browse and select the playlist file that you received from your provider.
- If adding the playlist by URL, enter the URL exactly as provided by your IPTV service provider.
- Click “OK” or “Add” to import the IPTV playlist into your Smart TV’s application.
- Sit back and enjoy your favorite channels and shows on your Smart TV!
With these easy-to-follow steps, you can now effortlessly set up IPTV on your Smart TV. Enhance your TV viewing experience with an impressive range of content, anytime and anywhere. So grab your remote, navigate to your newly installed IPTV application, and get ready to immerse yourself in endless entertainment options!